An Introduction to 3D Printing and Some Inspiration For You
If 3D Printing has so far passed you by then where have you been? Never fear – we’re here to give you an introduction to 3D Printing, this futuristic-yet-here-today phenomenon.
Until not so long back, I (Jo, the non-techie part of SED-Developments!) hadn’t seen much 3D printing. And, where I had, it was in the context of future projects. Like the school designing and building a 3D arm for a classmate for example. My comparative ignorance of all things 3D-print related changed in the summer of 2017 when the techie side of SED-Developments, Richard, bought and built our first 3D printer. Find out more about us here.
The initial idea was for it to be a project to keep him busy and out of trouble! A bit of a hobby. Y’know? But then we got digging. What could we print? Well! That’s when our little world exploded!
3D Printing – a lil bit of history
3D printing is popping up everywhere now. Yet it was first created back in 1983, when Charles Hull, created the first printer capable of printing an actual part. Back then, it wasn’t called 3D printing, but ‘Rapid Prototyping’ (catchy) and was a machine used to create prototypes of tools for machines used in manufacturing.
Rapid Prototyping sped up the prototype process, taking it from 6-8 weeks to mere hours. Inspired, Charles formed the company 3D Systems, in the main using it to market and sell his Rapid Prototyping machines. As with all inventions and innovations for the manufacturing world, Rapid Prototyping sneaked out to the general public. And today? 3D printers are becoming more commonplace. If you can buy one in Argos, that’s a sure sign that 3D printers are destined to become an essential bit of domestic kit before too long.
How does it work?
It is techie, no doubt about it, but at the same time it’s logical and easy. To print 3D items you need:
- A 3D printer – #obvs
- A computer with CAD software
- A reel of material
The material, will, likely be plastic, and this is where you can choose what type of plastic you want/need. What’s available includes:
- PLA which we use for our biscuit/cookie cutters because it’s food safe
- ABS plastic which is harder and a good one to start with
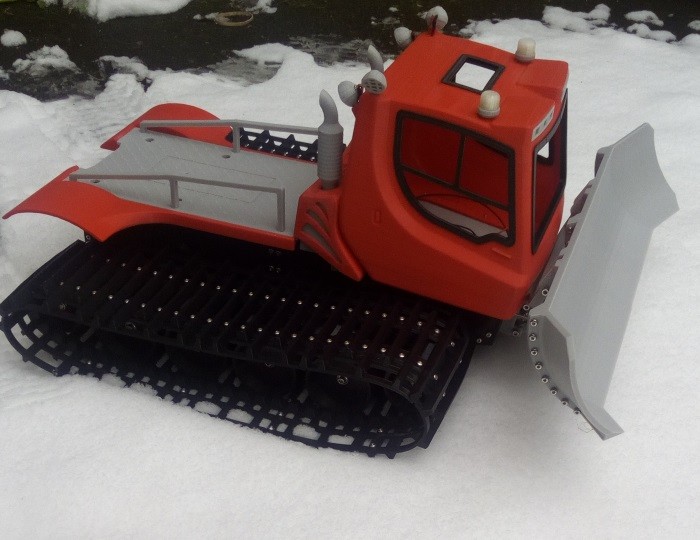
- Flex for bendy items. We use it for luggage tags, snow plough tracks – that sort of thing
Choose the colour of your material, and there are loads to choose from. There’s even effects of wood, bronze, gold, and, can you believe it, printing in chocolate is available!! Called filament, the material comes in two sizes, 1.75mm or 3.0mm. We use 1.75mm (which the majority use) as it’s easier to work with.
Get printing

The next job is to decide what to print. You’ll need to create an STL file. STL stands for stereolithography file. In the main, Computer Aided Design (CAD) software packages use these files. You can create an STL file through a CAD program – we use Tinkercad. When you have your STL file you’ll need to ‘slice’ the image. This is exactly as it says on the tin. To enable the 3D printer to create your design it needs to be able to print a slice of the design at a time.
To slice our designs, we use a program called Cura, which ‘translates’ the STL into a Gcode file. Once you have your Gcode file, you can upload this to your 3D printer. You’ll need a program to transfer the Gcode file to the computer you use, within your 3D printer. Our 3D printers run with Raspberry Pi’s.
Yes, it sounds complicated, but it truly isn’t. Off the shelf packages such as the Dremel 3D40 Printer make all this easier.
What do you need?
Research your 3D printer to get the one that’ll do what you want. We’re a little hardcore (not as detailed as some!) and have one where we can adjust settings, flow of material etc. If you’re new to it all and not technically minded, a more all-encompassing model would be better.
Filament, as we mentioned comes in all colours, two sizes (1.75mm or 3.0mm) on a reel, of which there are lots of weights. Find programs to create your designs, slice your designs and transfer those designs to your printer and away you go.
Need some inspiration?
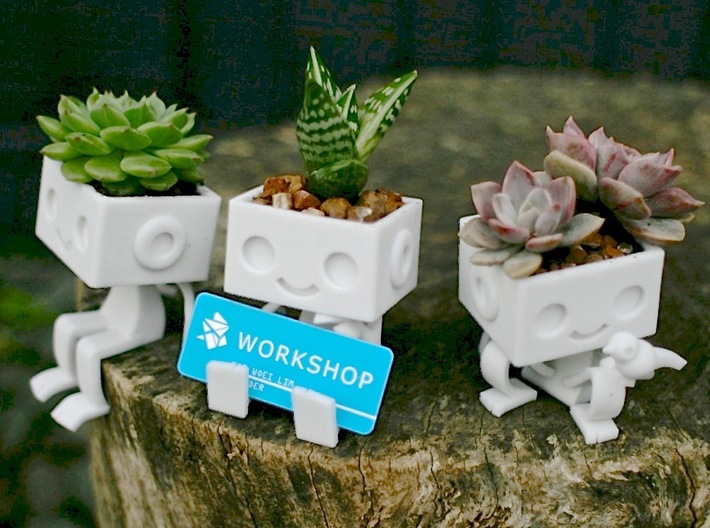
We wouldn’t be doing a proper Introduction to 3D Printing without showing you what’s out there. When Richard first started out (not that we’re that much of an expert), he’d loiter on Thingiverse, lusting after objects to print. From here he’s printed tea-light votives, pen holders, luggage tags, the list goes on; it’s a brilliant site for inspiration. Most creators provide a download and instructions (settings etc) so you can print the item. And if you get hooked, and want to print items to sell, you can use designs from Thingiverse. Do check the licensing though and accredit as necessary.
Check out these websites to get you going
Shapeways – you design a 3D item and send the files to them, they’ll print the item for you and send it back! So you don’t need a printer – your imagination is enough.
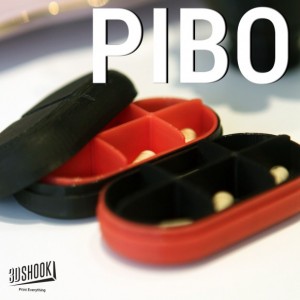
3D Shook – A place for designs to print for the home. Their selling point is that they vet and curate the creations so it doesn’t feel like a 3D Printing ‘jumble sale’. Other sites, Thingiverse, for example, allow members to upload all or any items they’ve made. 3D Shook charge for patterns and schematics.
Youmagine – a place with over 1200 projects, which you can download, remix, or customize. These are individuals and groups submitting designs, complete with schematics and instructions. Quite a few of the designers, sell their final creations via Shapeways. Which means, again, you don’t have to own a 3D printer.
Wevolver – is a little more advanced and geared towards ‘electronics and other complex projects’. Here you’ll find robotics, drones, etc. And you’ll see people who have printed their own printers! All you need to complete this cute robot, is a screwdriver! (Ooh and probably a 3D printer!)

Most of the above sites are communities, where like-minded creators are sharing their designs for you to view, and have a go at printing.
Once you own a 3D Printer, (whatever model best suits you), you’ll want to design your own 3D printing projects. Check out these tutorials – they’re a great way of learning what you can do.
Don’t Miss:
MeshMixer Tutorial for 3D Printing Beginners
Tinkercad Tutorial Step by Step Lessons
Sketchup Tutorial for 3D Printing
Is it worth getting one?
It is, if you love to design and creating. You want those ideas to become a reality. If you want an adventure in your own home! If you have children, you’ll enjoy the educational element of 3D printing.
There’s no denying that the printers can be a bit fiddly. They’re also temperamental, and using Tinkercad has been a very steep learning curve. I’ve printed into thin air more times than I’d like! And yet they’re the most fun we’ve had in ages! 3D printing is here to stay.
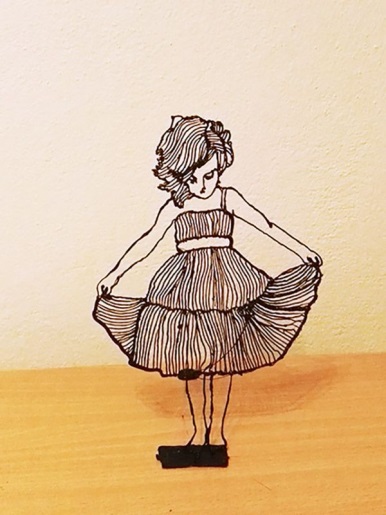
If a printer scares you a little, that’s ok, because there are 3D pens around, which are worth investing in. You won’t be able to create big projects, but with a pen you’ll be able to create the smaller, funkier items. Earrings, anyone? We’re currently using the Homecube Stereo Drawing Pen, which we’ve found works well, and forgives most mistakes! If you’re lost for inspiration, there are plenty of 3D pen templates around, anything from the Eiffel Tower to the lovely template you see below.
So we say, go on, invest and create to your heart’s desires! Hope you’ve enjoyed our introduction to 3D Printing.
When you get creating, send us your pictures and we’ll feature them on our Facebook and Instagram pages.


And see also over on Born Again Swindonian:
https://swindonian.me/2019/04/17/additive-manufacturing-3d-printing-how-it-all-began/